PROJECT LEVEL
EASY
ENERGY SAVINGS
Depend on energy cost, R-value increase, and airtightness of newly insulated floor compared to existing.
TIME TO COMPLETE
4-8 HOURS
OVERALL COST
$0.60 to $1.00 PER SQUARE FOOT FOR R-30 BATTS
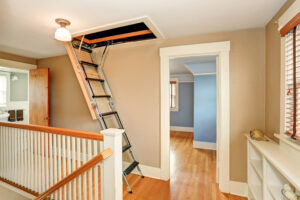
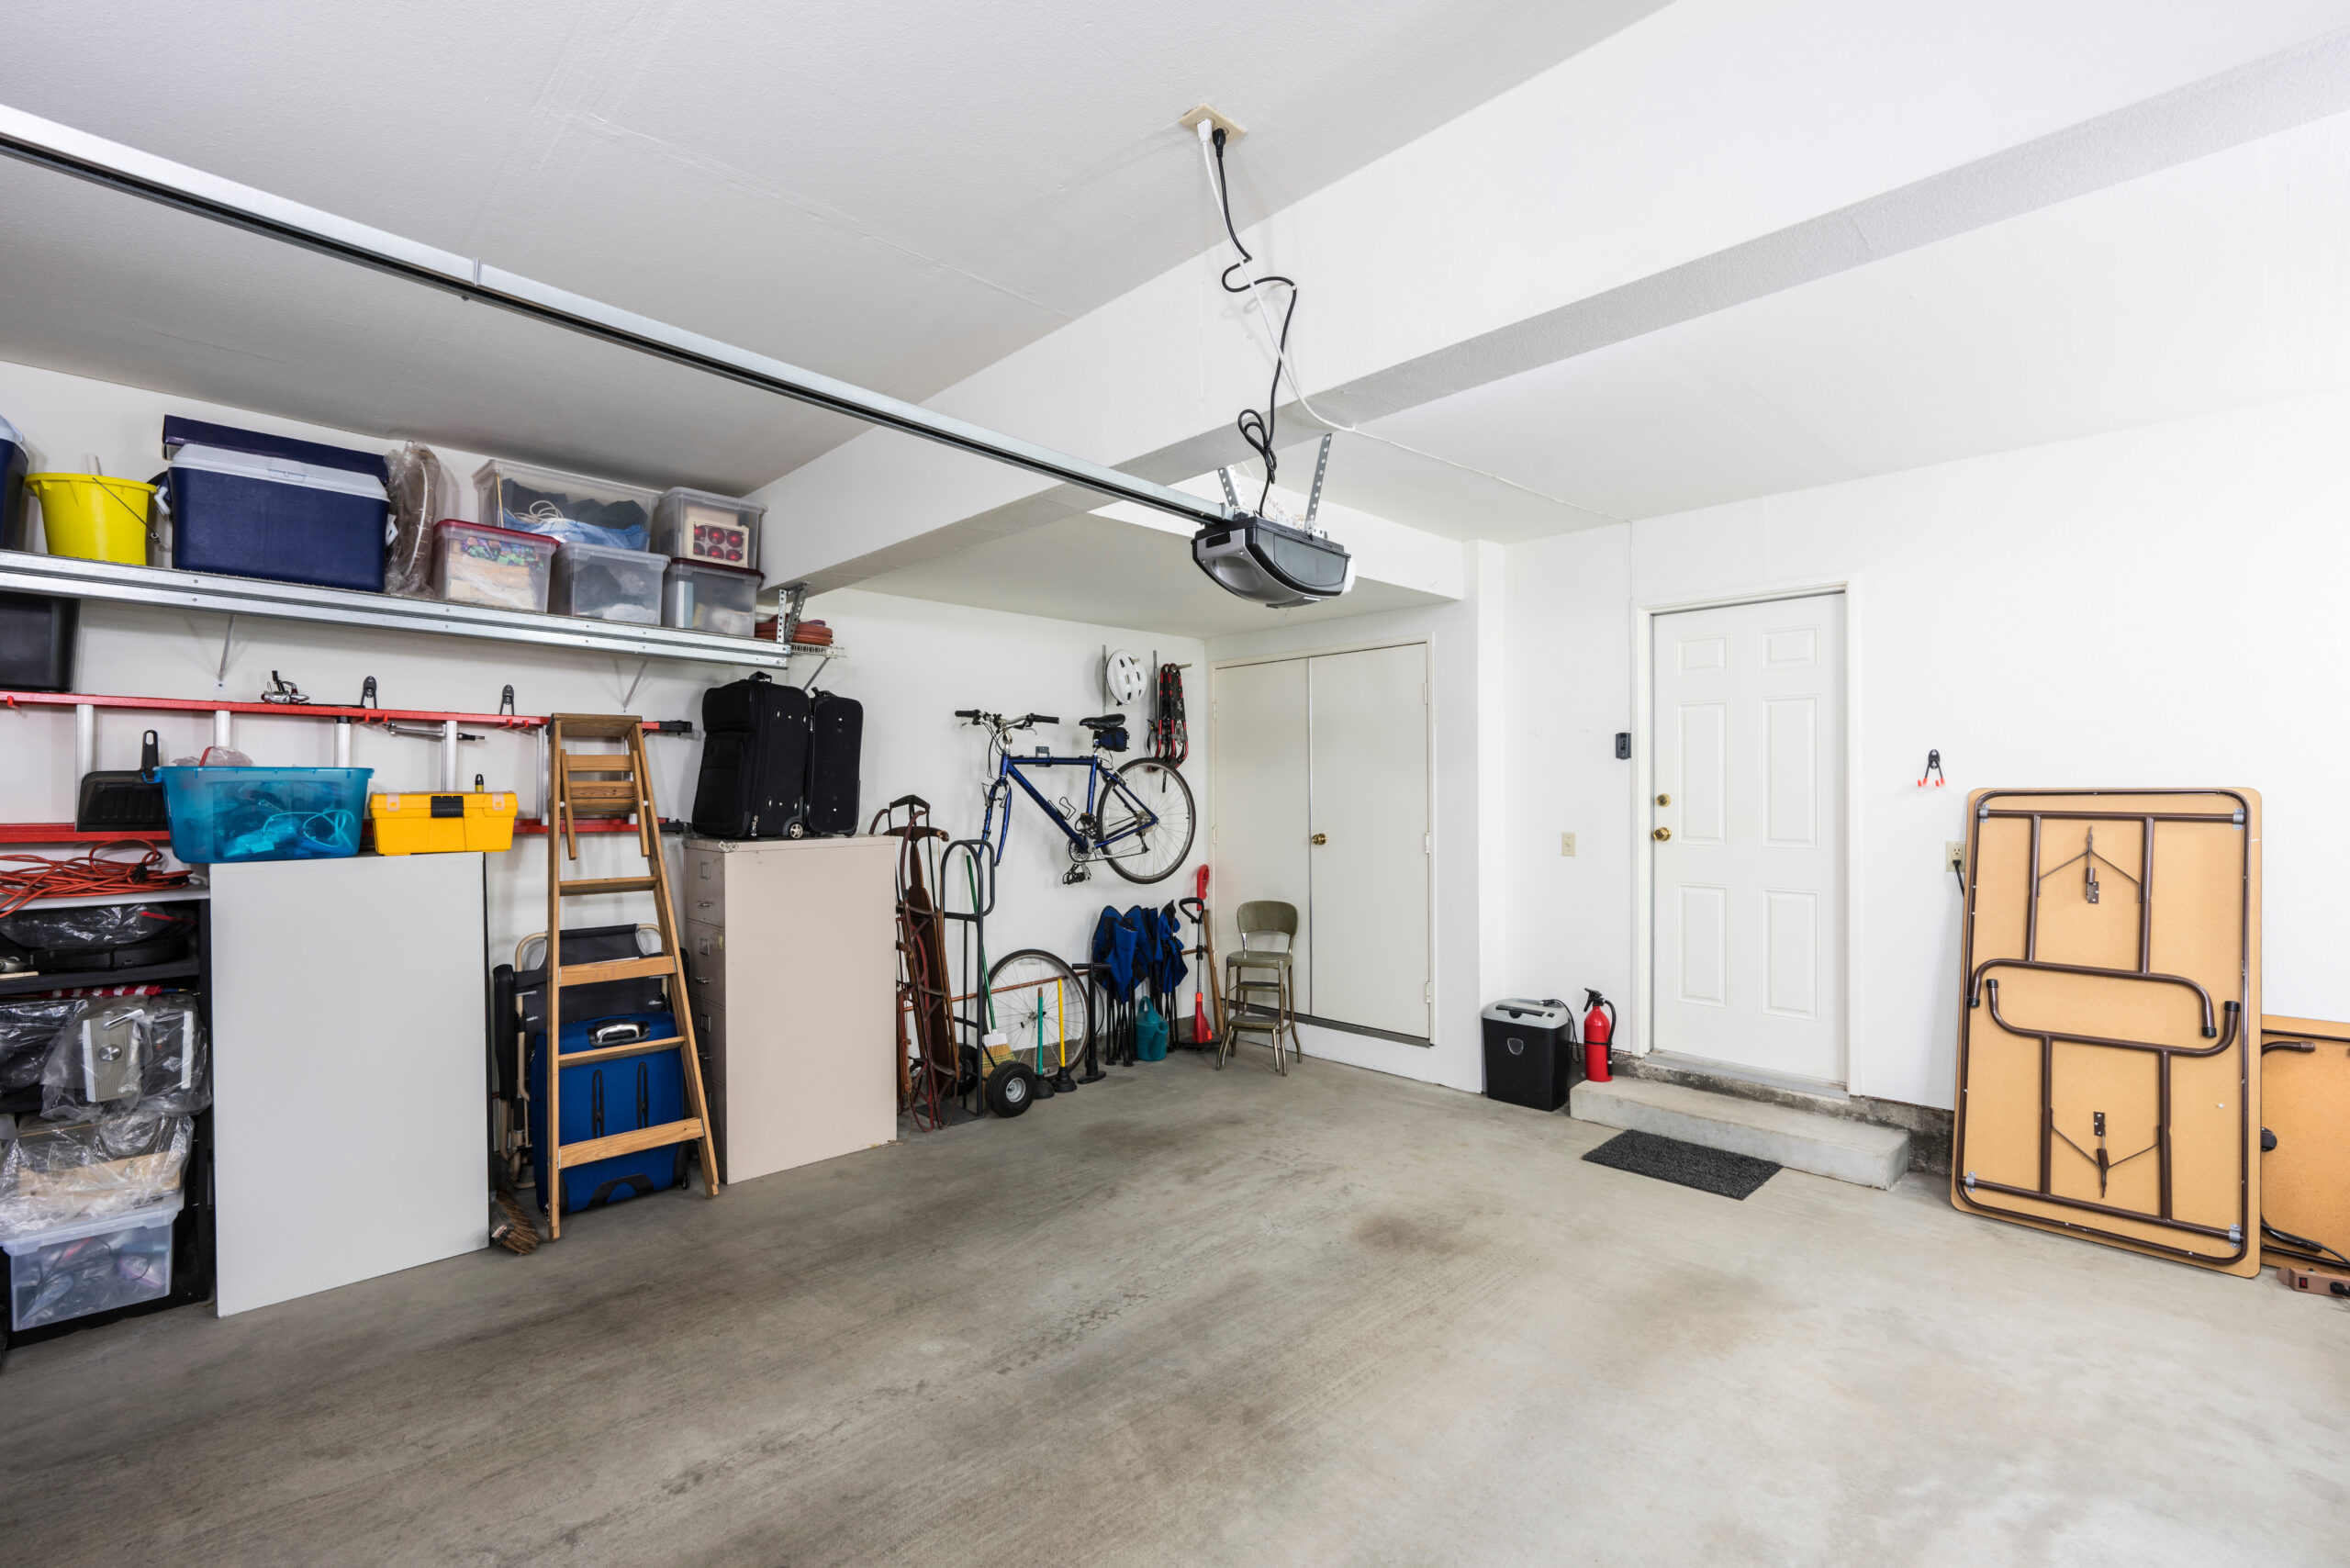
Installing continuous air and thermal barriers between an unconditioned garage and the conditioned spaces above can save energy and money, improve comfort, and safeguard indoor air quality. Your garage may be a source of multiple pollutants, including dangerous carbon monoxide from car exhaust. In addition to careful air sealing and insulating, never leave your car engine running with the garage door closed and store paints, solvents, and other chemicals in tightly sealed containers.
BEFORE YOU START
- Before insulating the floor between an unconditioned garage and the conditioned space above, take the time to:
- Carefully air seal all gaps between the garage and the conditioned space above and the garage and the outdoors (the rim/band joist, for example)
- Calculate the amount and determine the R-value of the insulation you will need
- Gather all required tools and materials.
SHOPPING LIST
Choose materials that don’t require specialized equipment or tools to install.
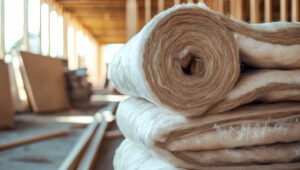
- Blanket insulation
- Wire fasteners
- Tape measure
- Sharp utility knife
- Caulk and foam sealant
- Caulk gun
- Stepladder
- Straightedge
- Respirator or dust mask
- Eye protection
- Protective clothing, including long-sleeved shirt, long pants, closed shoes, and gloves.
STEP-BY-STEP INSTRUCTIONS
- Double-check your insulation
Before opening the packages, verify that the insulation material is the correct width and R-value. - Seal air gaps
Before insulating, carefully air seal gaps in the floor between the garage and the conditioned space as well as the garage and the outdoors (rim/band joists, for example). Use caulk for gaps smaller then ¼ inch and foam for gaps ¼ inch to 3 inches. In addition to improving energy efficiency, air sealing also helps keep exhaust fumes and other pollutants out of the conditioned space. - Fit insulation between joists
Ensure insulation extends to the outside edge of each joist bay and is in contact with blocking or rim/band joist and the subfloor above. When using kraft-faced batts, install kraft facing against the conditioned side of the cavity. The kraft facing creates a vapor retarder that prevents trapped moisture from reducing the insulation’s effectiveness. - Adjust insulation for a snug fit
Ensure ends of insulation are butted snugly together and in full contact with the subfloor of the conditioned space above. - Fasten the insulation in place
Use wire fasteners to support the insulation so that it is in full contact with the subfloor but not compressed.